Game Controller Redesign
2020-2026
INTRO
During the pandemic lockdown, I revisited my old Nintendo 64 and the games I grew up playing. While the experience was nostalgic, I found the iconic trident-shaped controller less comfortable than I remembered. Leveraging the resources at the DiMonte Group, I set out to redesign and create a custom controller tailored to my hands, improving both ergonomics and functionality. This project also served as a hands-on opportunity to refine my skills in sculpting with Castilene clay and modeling complex, curvature-continuous geometry in SolidWorks.
OVERVIEW
- Reverse engineering
- Clay modeling
- Solidworks modeling
- Print and decorate
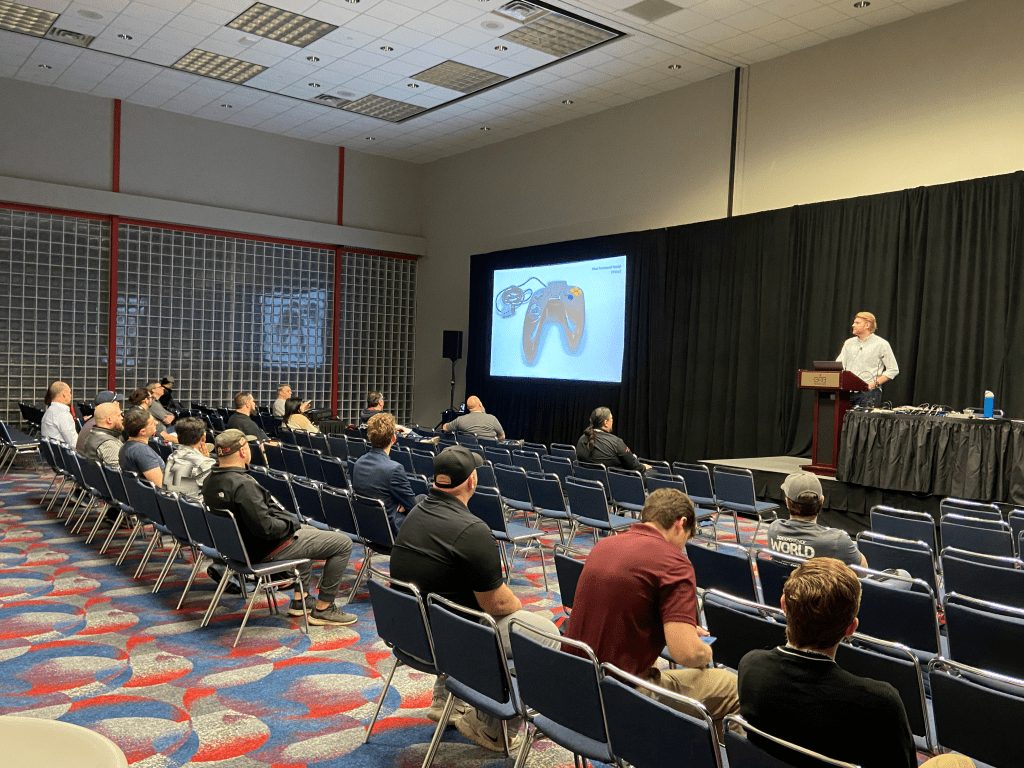
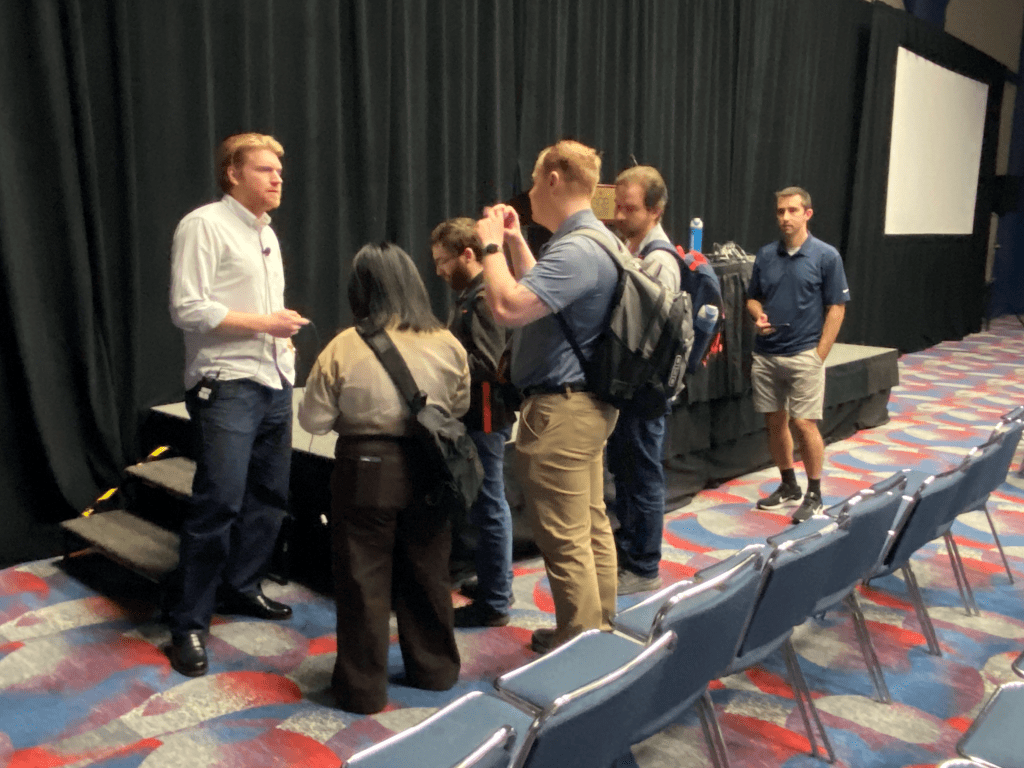
Dassalt Systemes 3DEXPERIENCE World 2026 Presentation
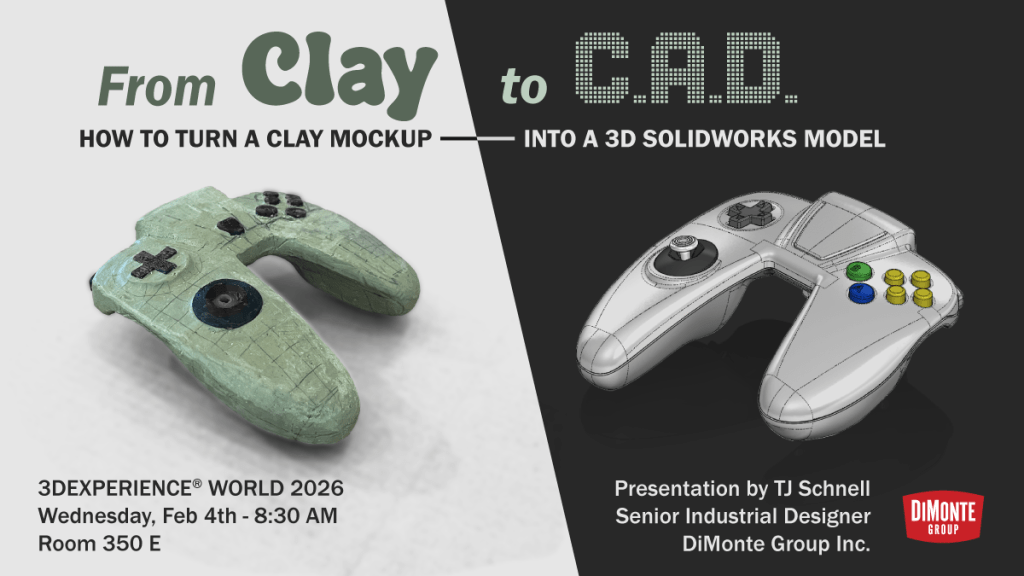
On Feb 4th I had the privilege of delivering my presentation “From clay to CAD” to a group of 40+ engineers, designers, and retro gaming enthusiasts at 3DEXPERIENCE World 2026, in Houston.
That presentation used this N64 controller redesign project to showcase the clay to CAD workflow for rapid ergonomic design and SolidWorks modeling.
Original N64 Controller Issues
- 3 handled design makes it difficult to switch between using the directional pad and joystick
- Left shoulder button is inaccessible when using the joystick
- Handles are too small for my hand size
- Center “start” button is can be hard to find without looking at the controller
Reverse Engineering
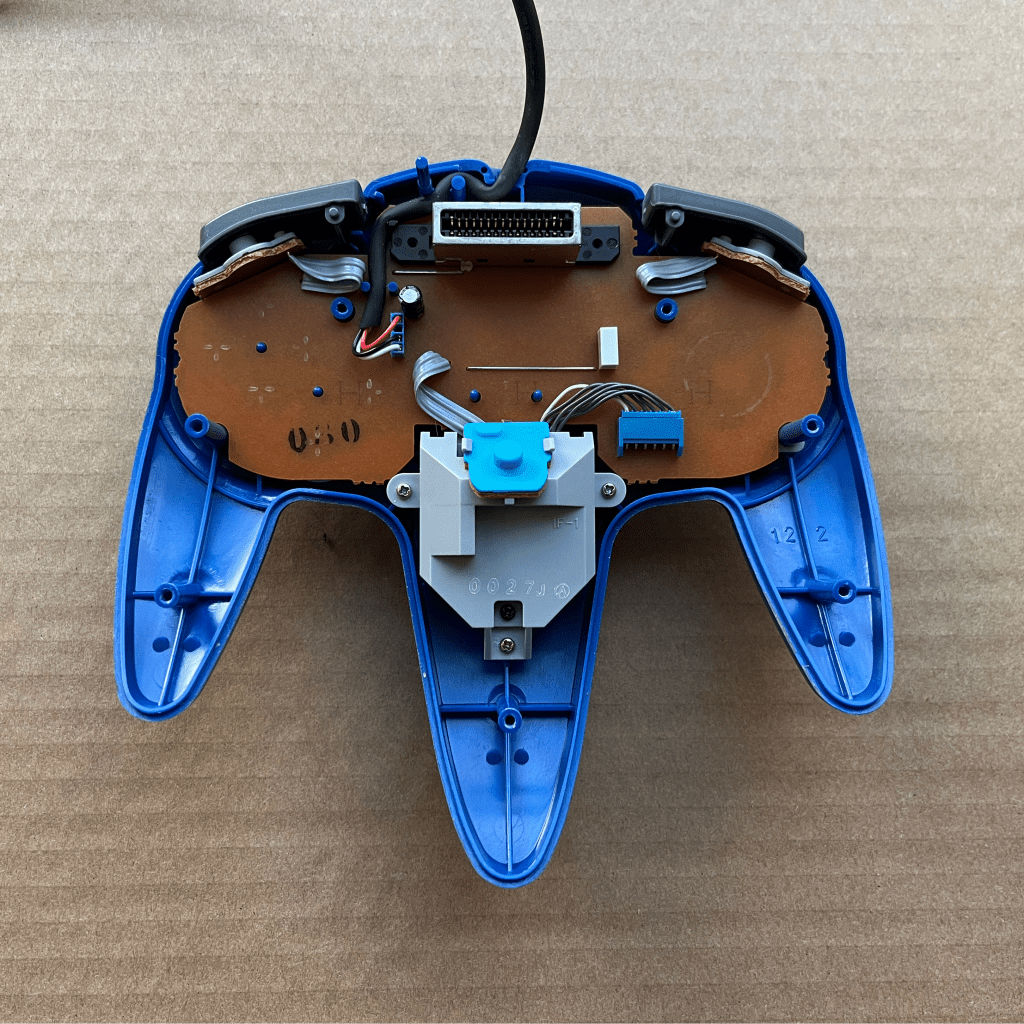
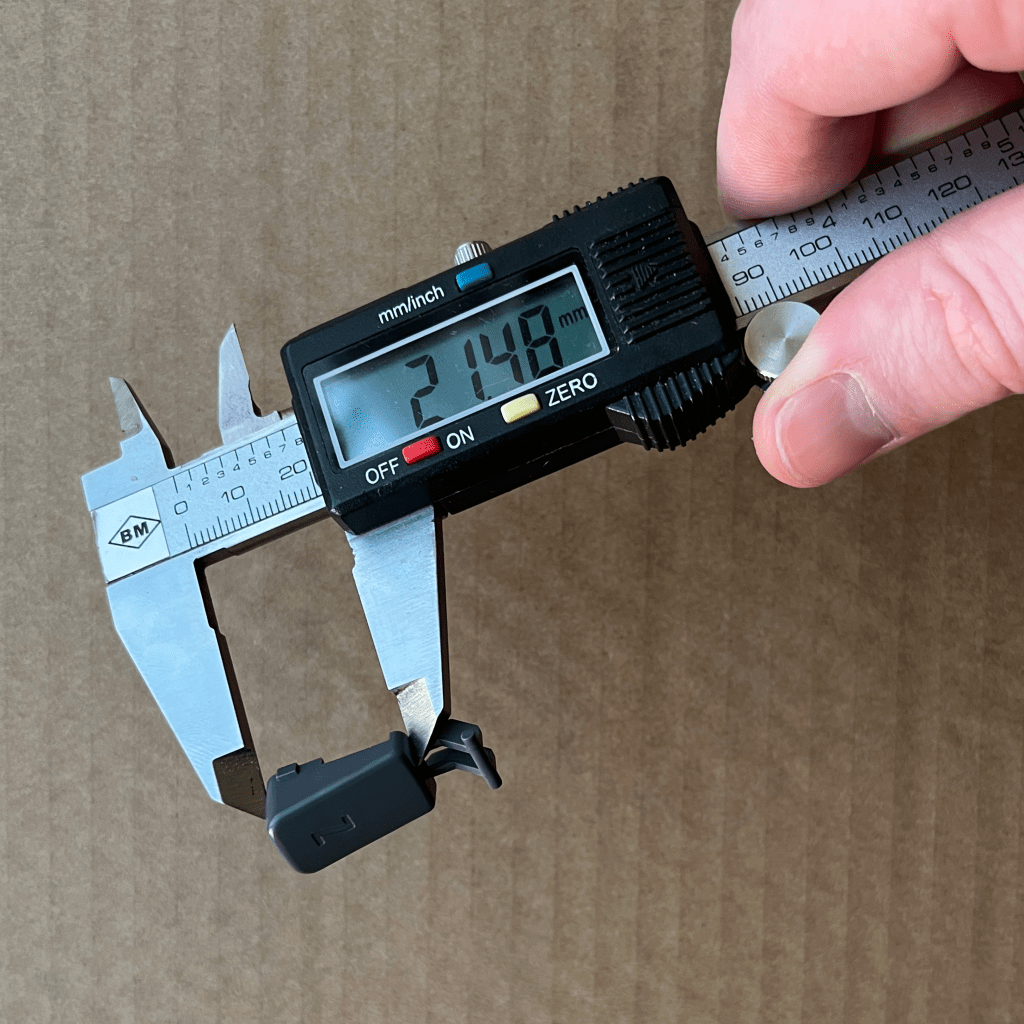
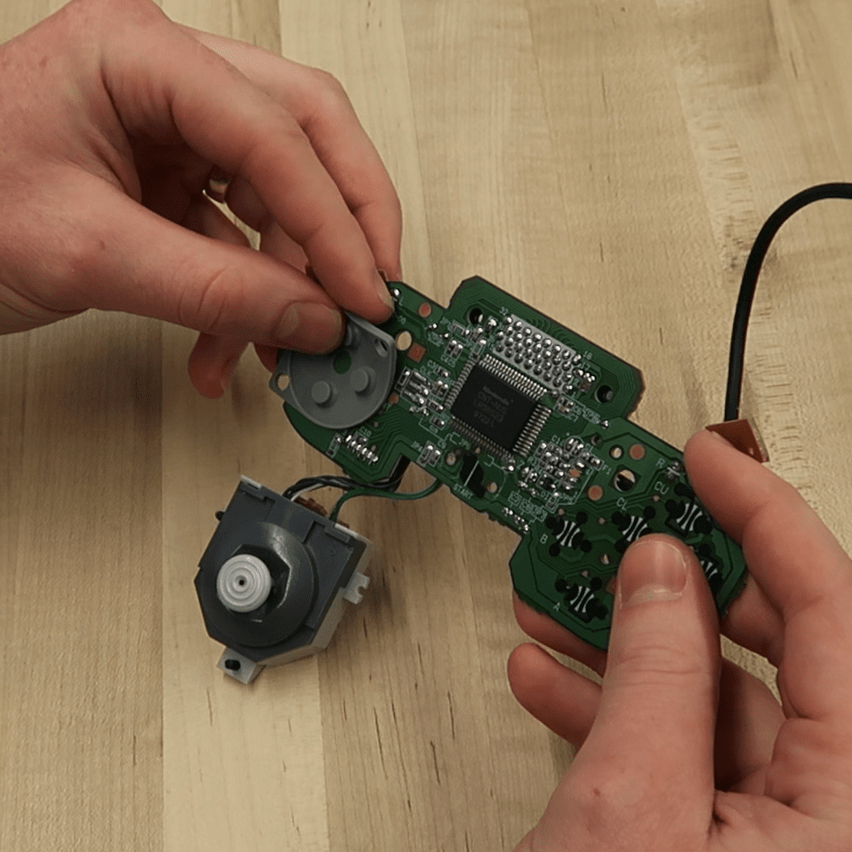
I began by disassembling the original Nintendo 64 controller to understand its internal components and functionality. I determined that I would be able to reuse the existing buttons and reposition the joystick to the left side for my two-grip configuration. Using calipers and SolidWorks, I 3D modeled each component and mated them into an assembly to ensure proper fit and part alignment.
Clay Modeling
Internal Skeleton:
I 3D printed an internal skeleton that represented all the internal components. This allowed me to build up clay around the skeleton with full confidence that the buttons and joystick were in the correct positions relative to each other.
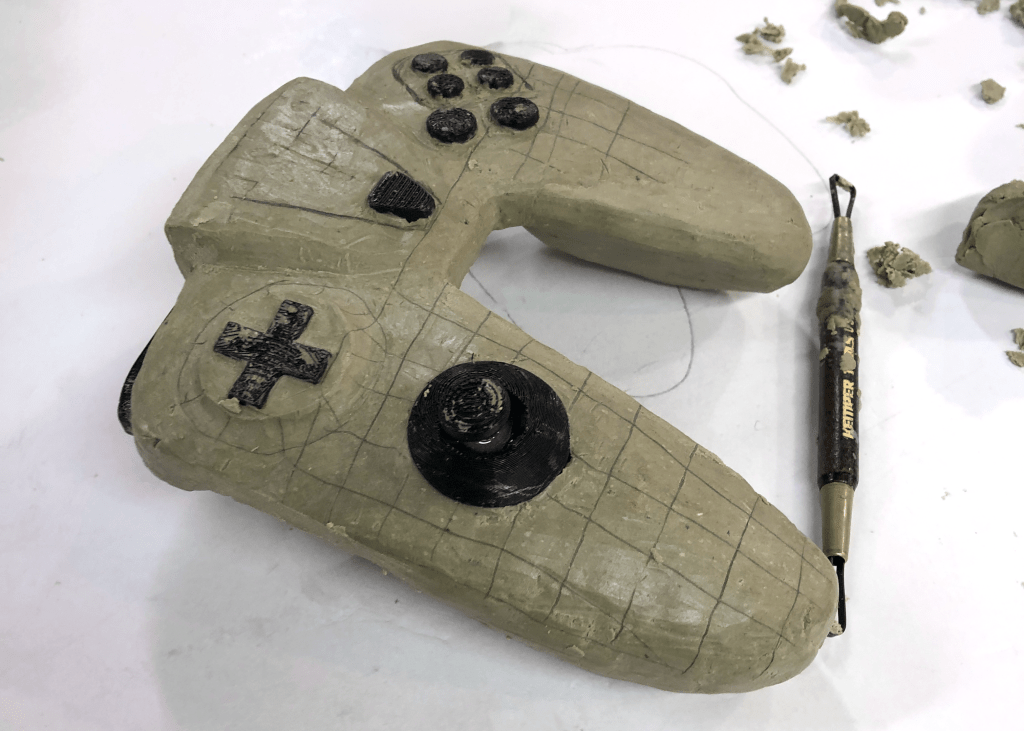
3D Scanning

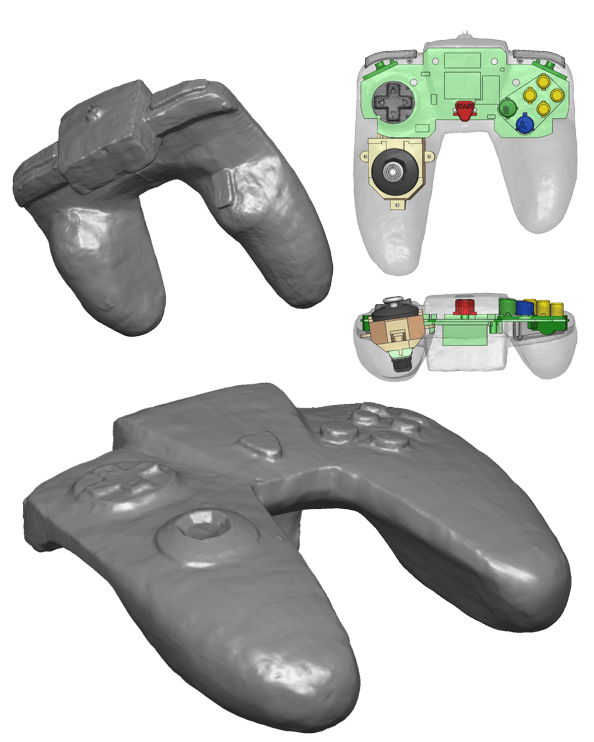
I used the DiMonte Group’s laser scanner to generate a highly detailed 3D mesh of the clay model, which served as a precise reference for 3D modeling the controller design.
The 3D scanner produced a raw mesh file with extra faces from the scanning environment, requiring cleanup and alignment. Once refined, I integrated the mesh into my SolidWorks assembly to begin modeling the controller housings.
SolidWorks Modeling
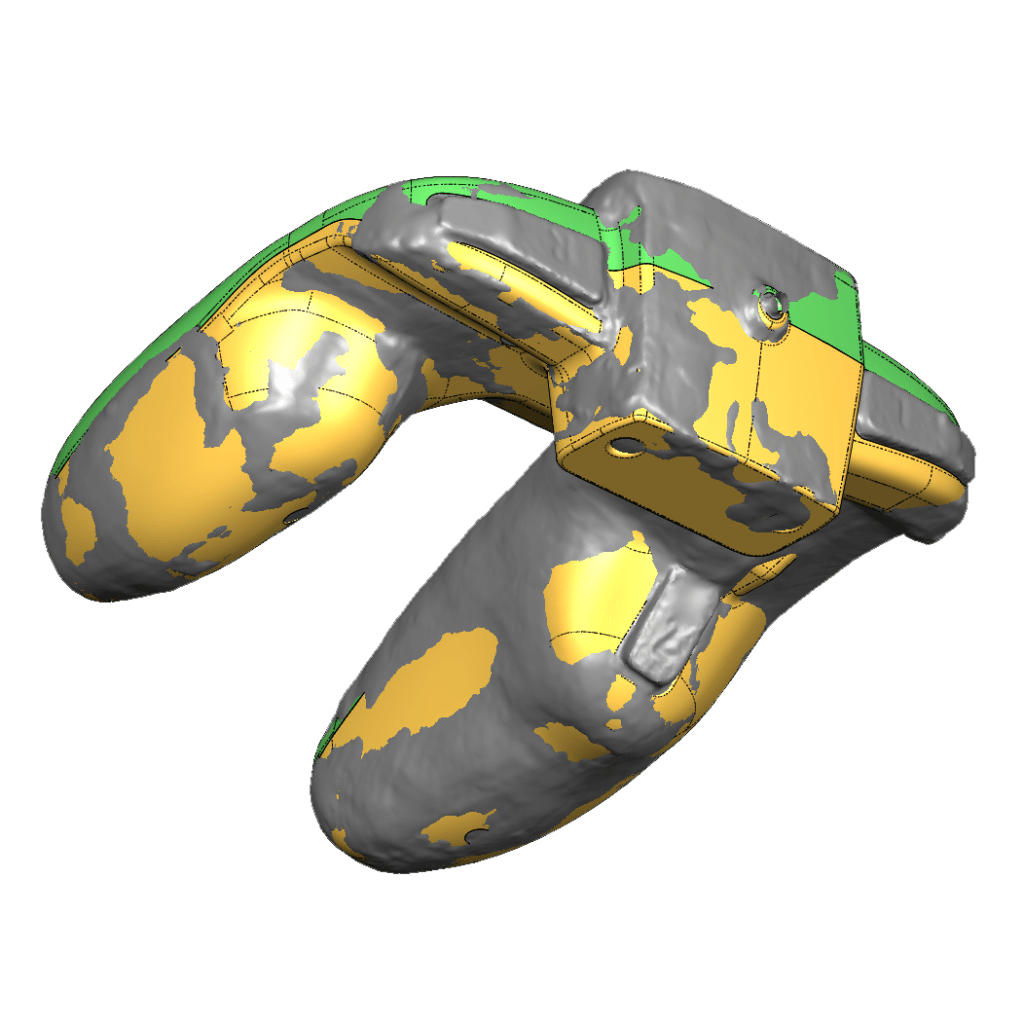
Comparison between scan and final model
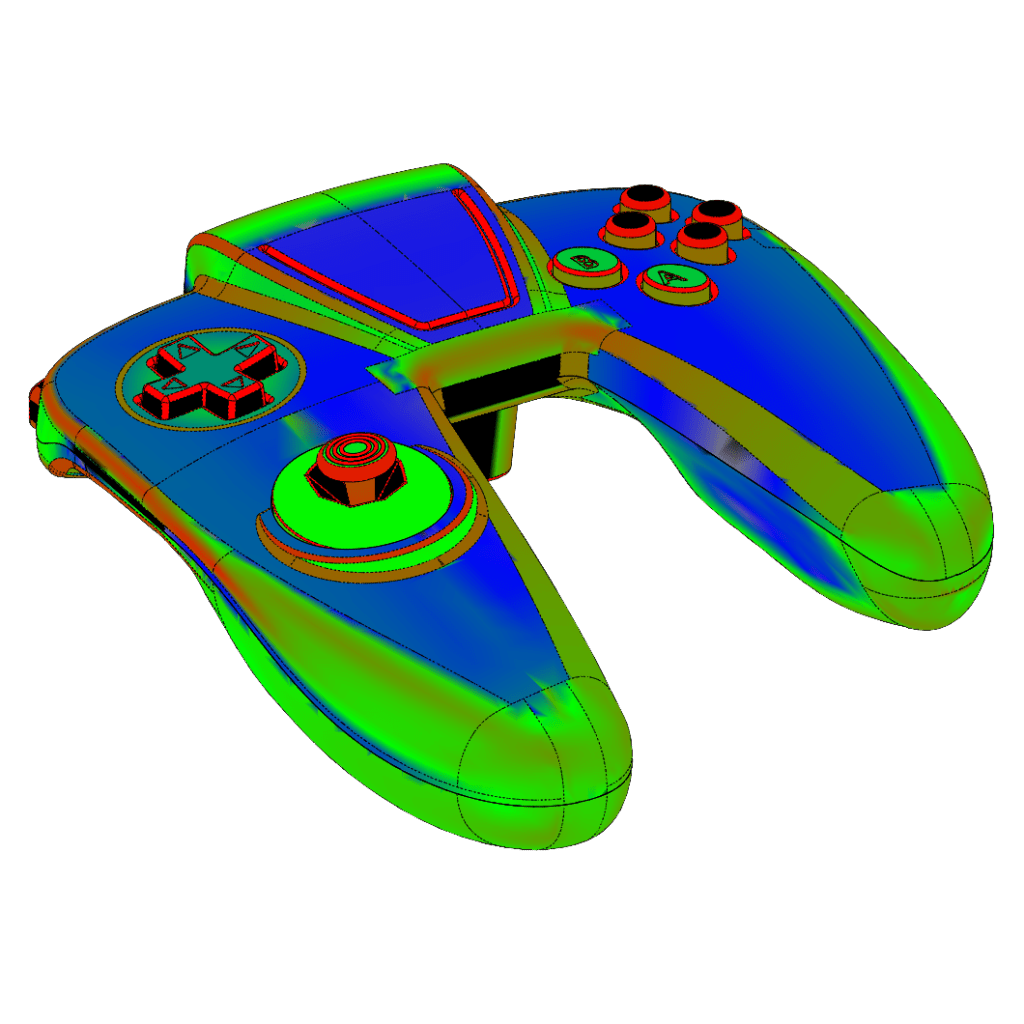
Curvature analysis of final model
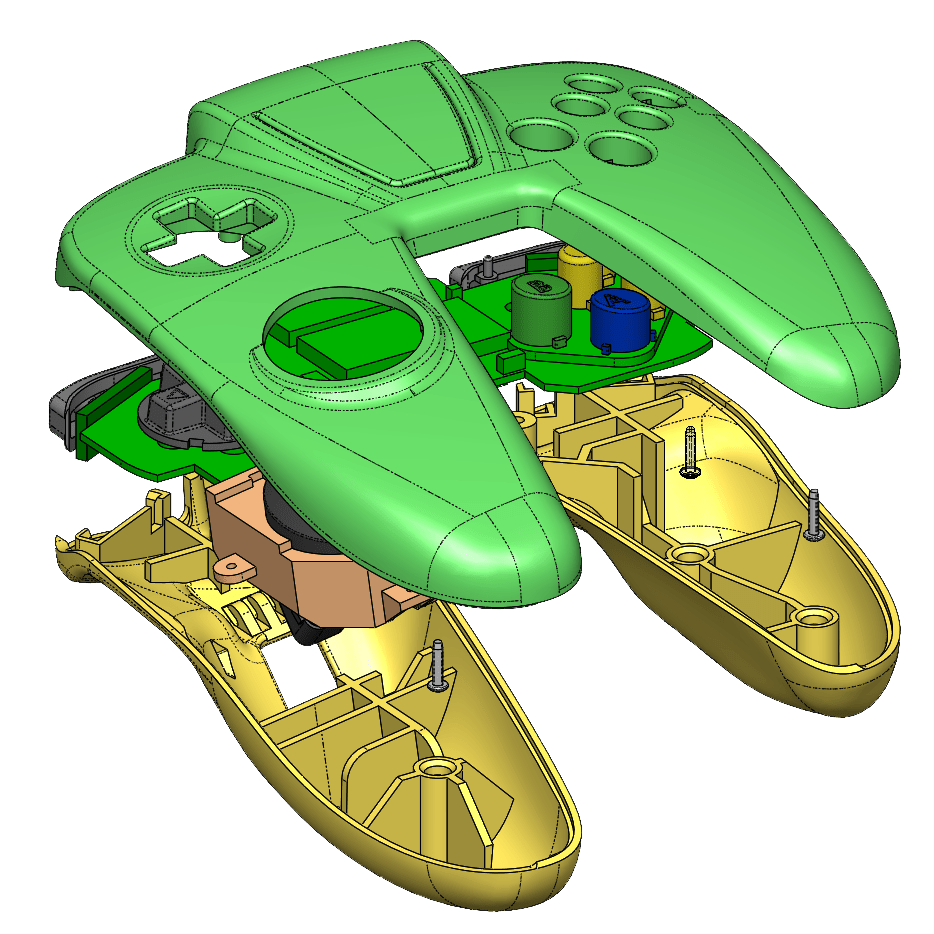
Exploded view of final model
Print & Finishing
Iterative prototyping is important – No design is perfect on the first go around. This first test print revealed several issues.
Wall sections too thin to resolve.
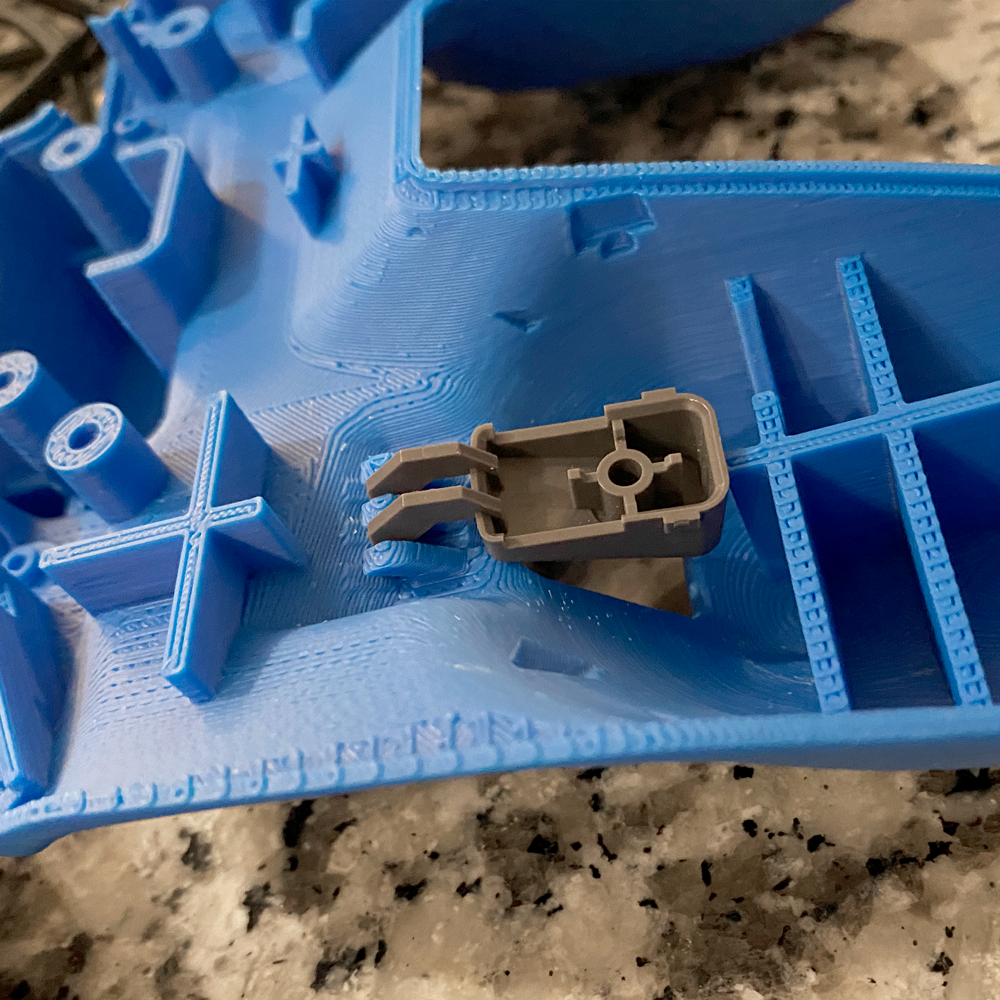
Assembly interference when trying to swing the Z-button into place.

Shoulder button PCBs & main cable not well constrained making assembly difficult.
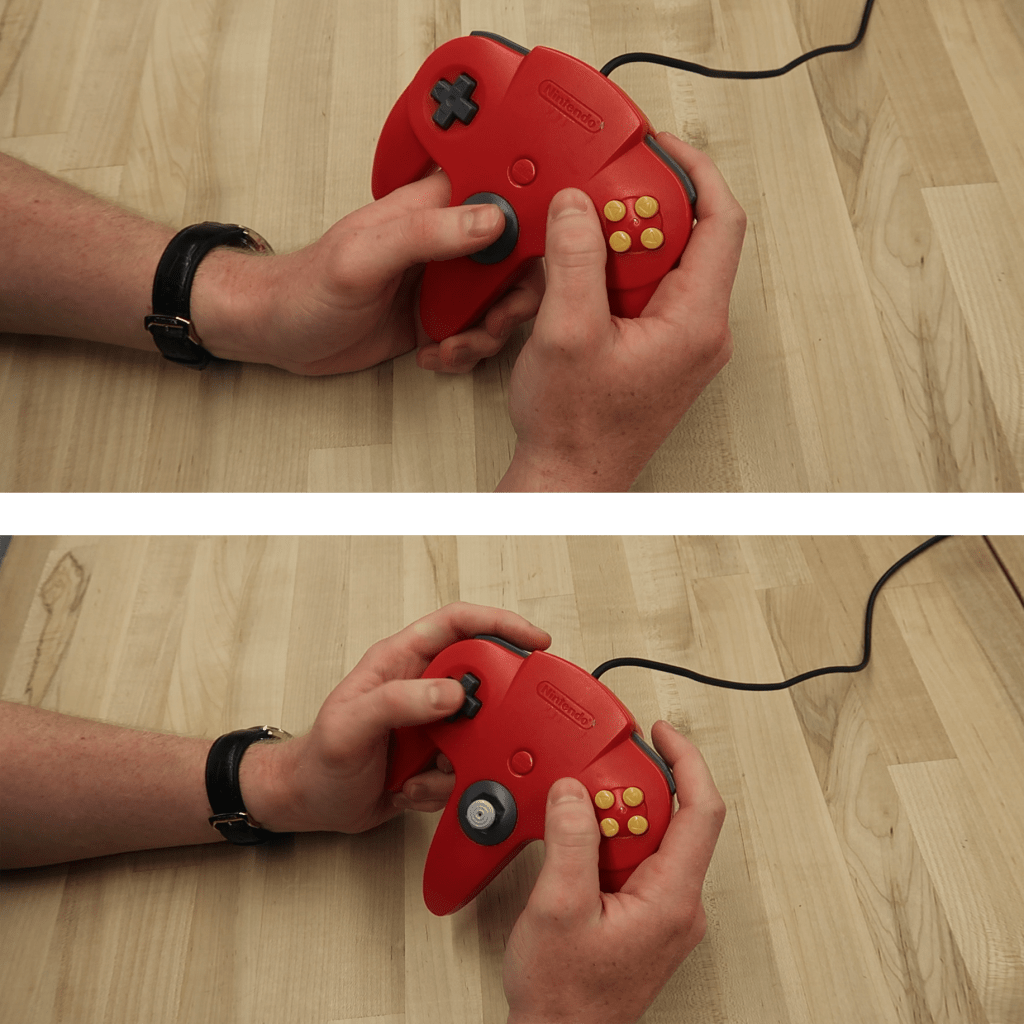
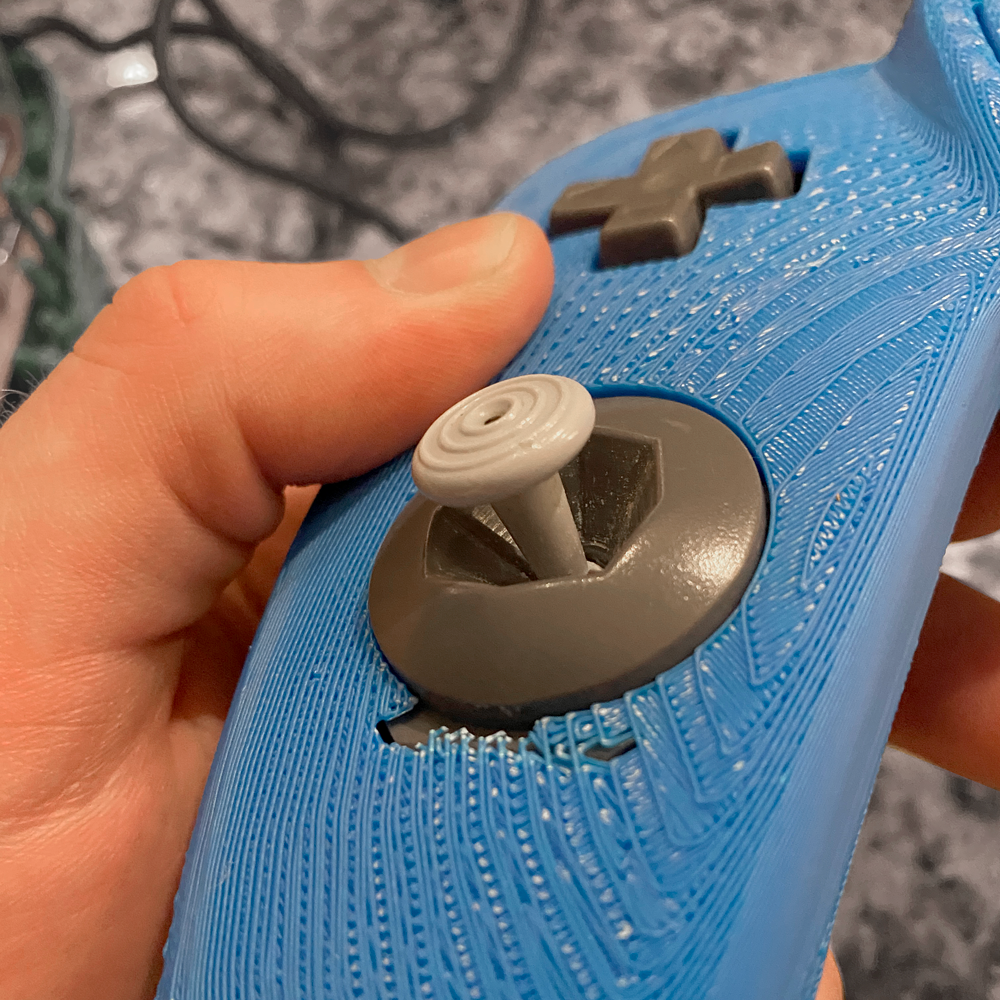
Final Functional Controller
Final Assembly Steps
- Print the final geometry on DiMonte Group’s in house FDM 3D printers
- Test assembly fitment to make sure all the buttons were working
- Meticulously filled and sanded all outside cosmetic surfaces
- Prime surfaces and spray paint
